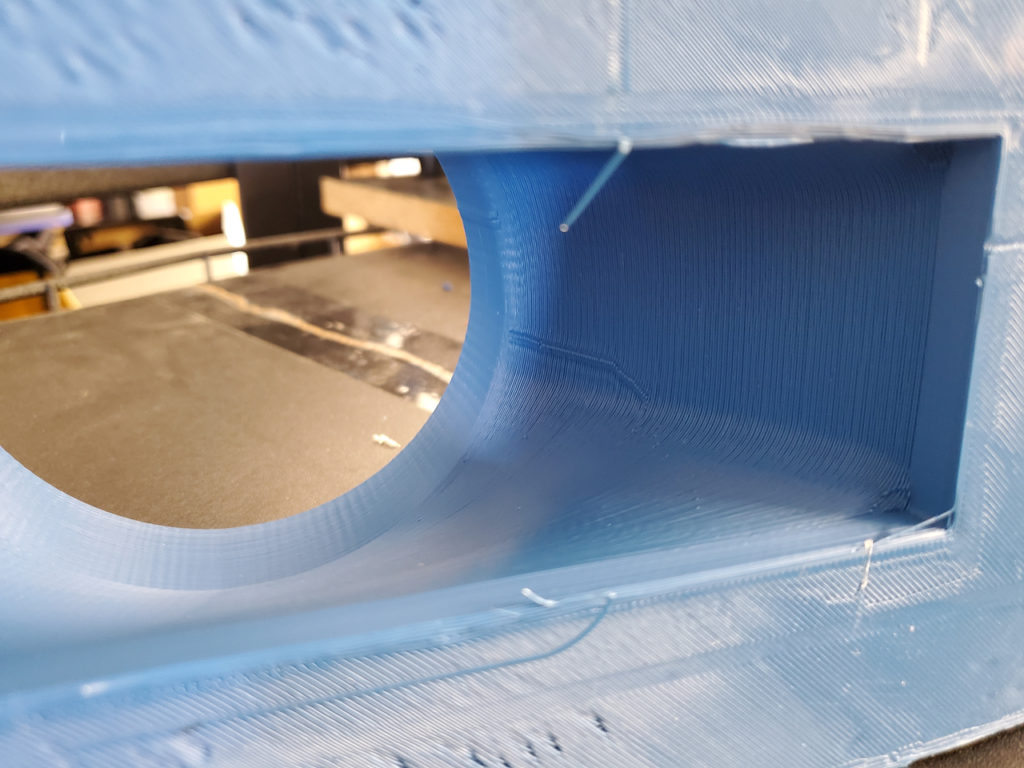
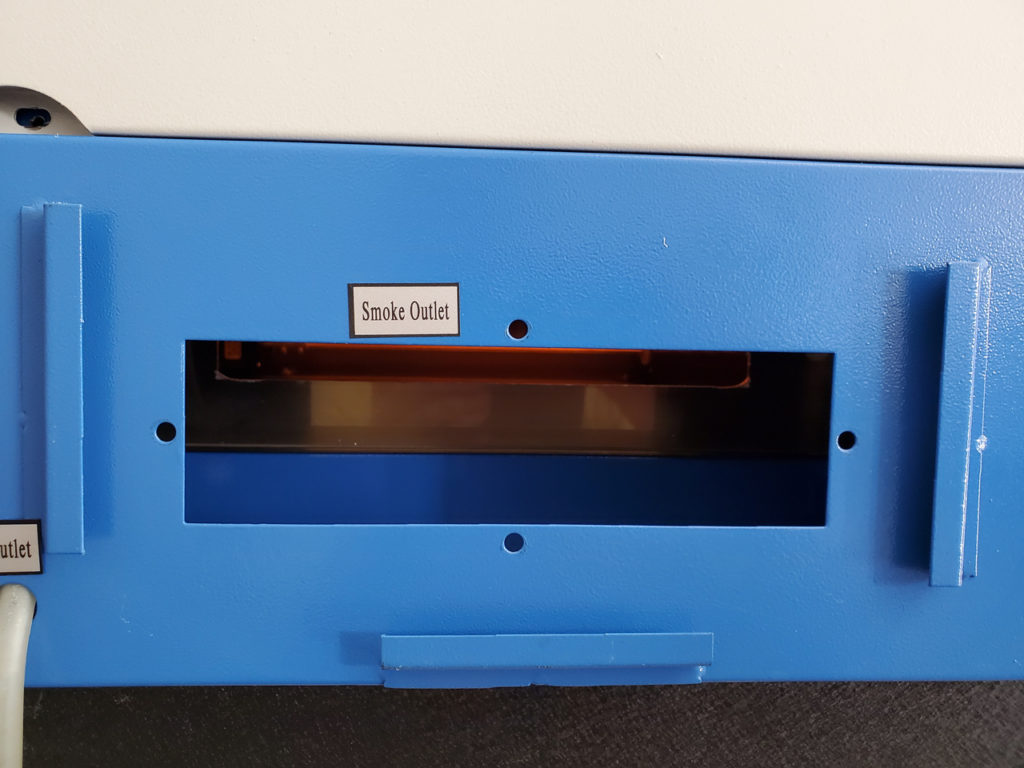
To start I was working on modifying a K40 laser and like many more out there I wasn’t happy with the stock air exhaust. So as usual I jump into Fusion360 and model up an adapter to take the stock square hole and mount and turn it into a more standard 4in exhaust tube.
Couple measurements and some lofts and I had something which I felt was sufficient.
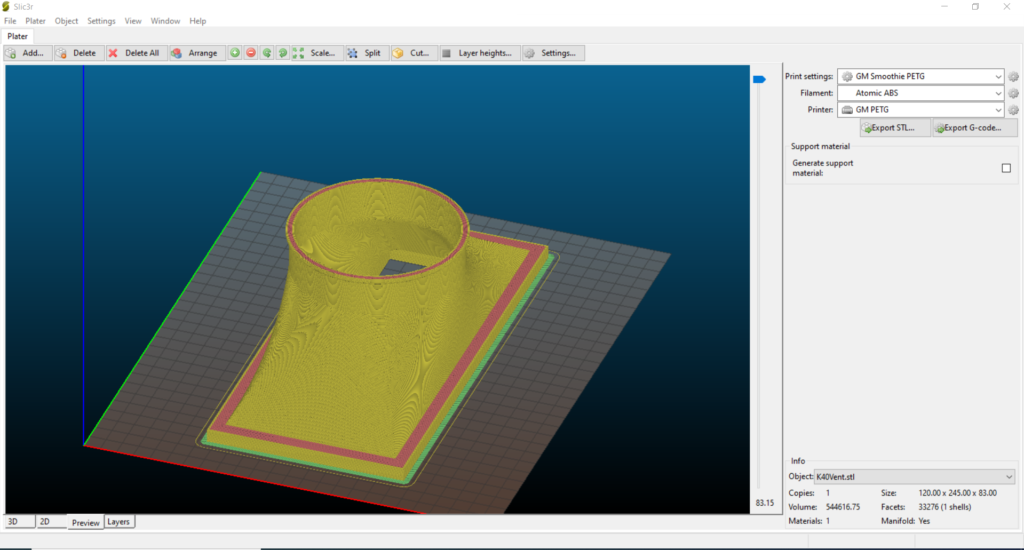
So I sent it off to Slic3r to get it ready to print and as I planned I can get away without using support material. So that saves some time but the print overall is fairly large.
Because I don’t like things to be easy I decided to make things hard:
1. Print this from ABS.
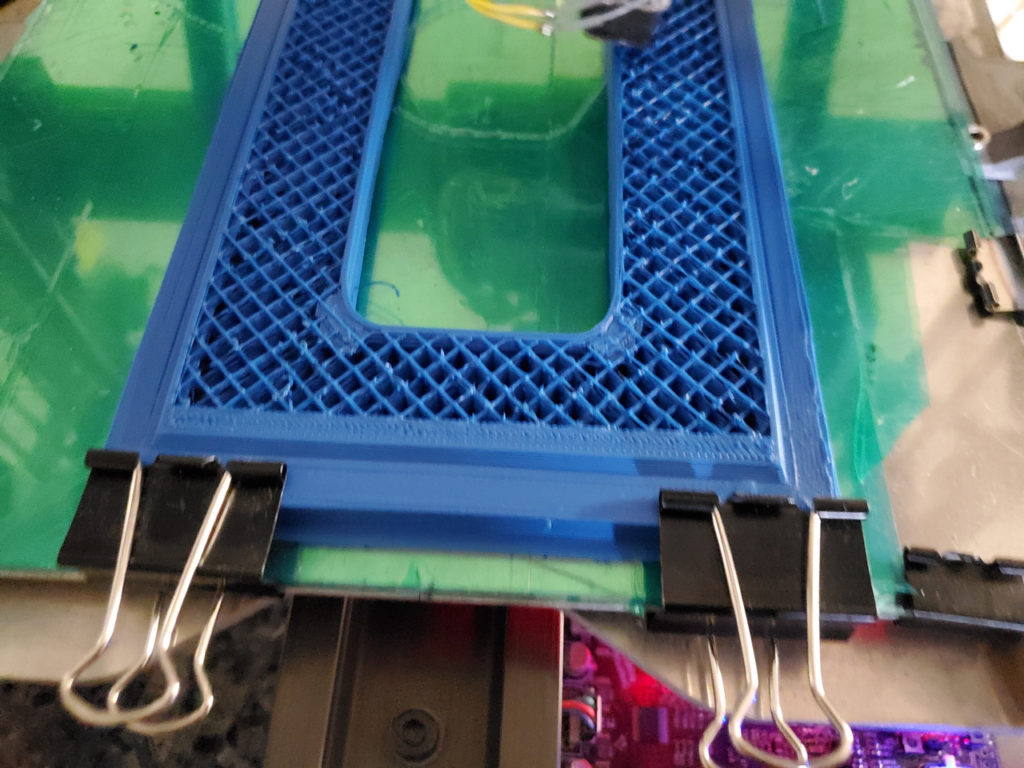
2. Use a printer which has a bed barely sufficient for the size of the print. 2013 MMpro
3. Print with some Protoparadigm ABS (approx 8 years old)
4. 65f/18c ambient temperature and no enclosure
5. Orient the print so that it is on the edge of the bed where the heater isn’t even.
Early on it was pretty clear that the print was going to warp but since this is just a vent adapter I didn’t care much…so I decided to keep it running.
Printing ABS with an ambient at less than 25c is something that almost always causes issues And it did. There is some pretty clear delamination happening but again it didn’t matter since the print was not intended for anything except to be an adapter and was not for a customer I let it run to see how well it did.
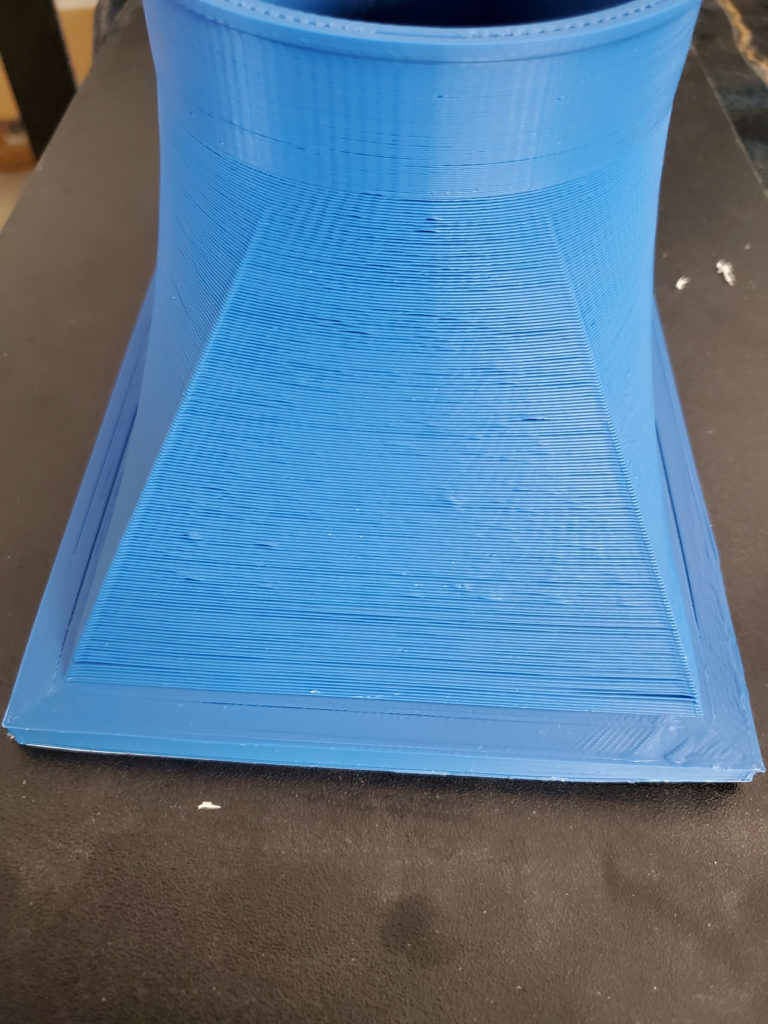
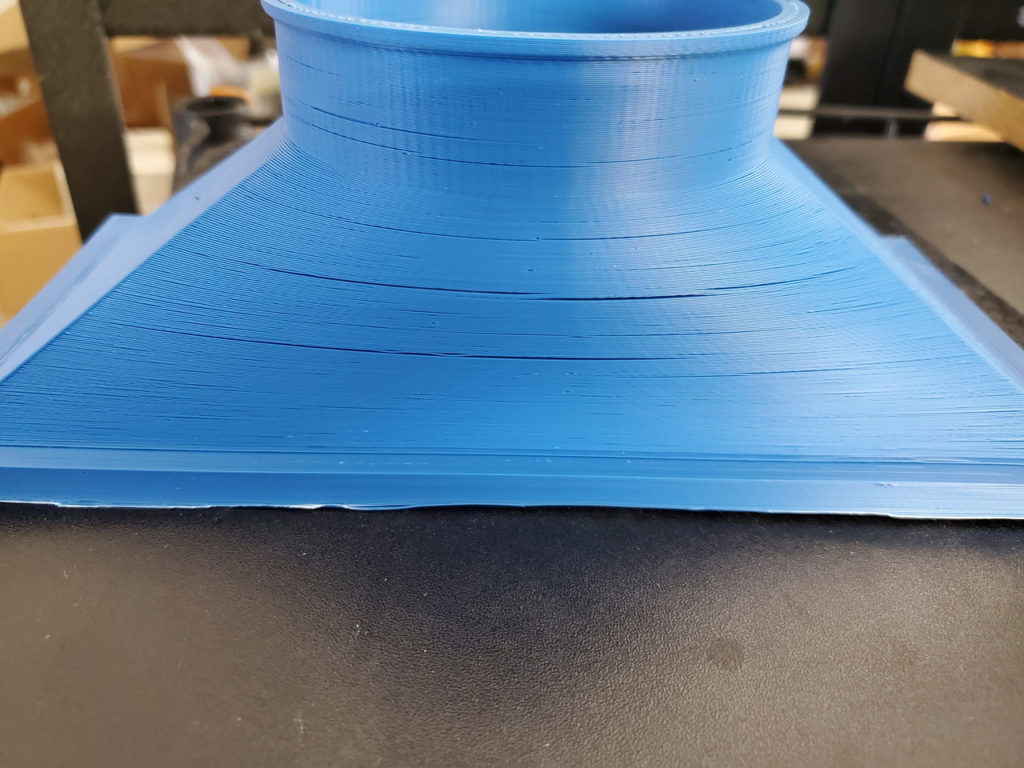
Overall though this print wasn’t too bad. It was cracked a bit due to the delamination and had some warping on the corners but the print was what I call a “successful failure”.
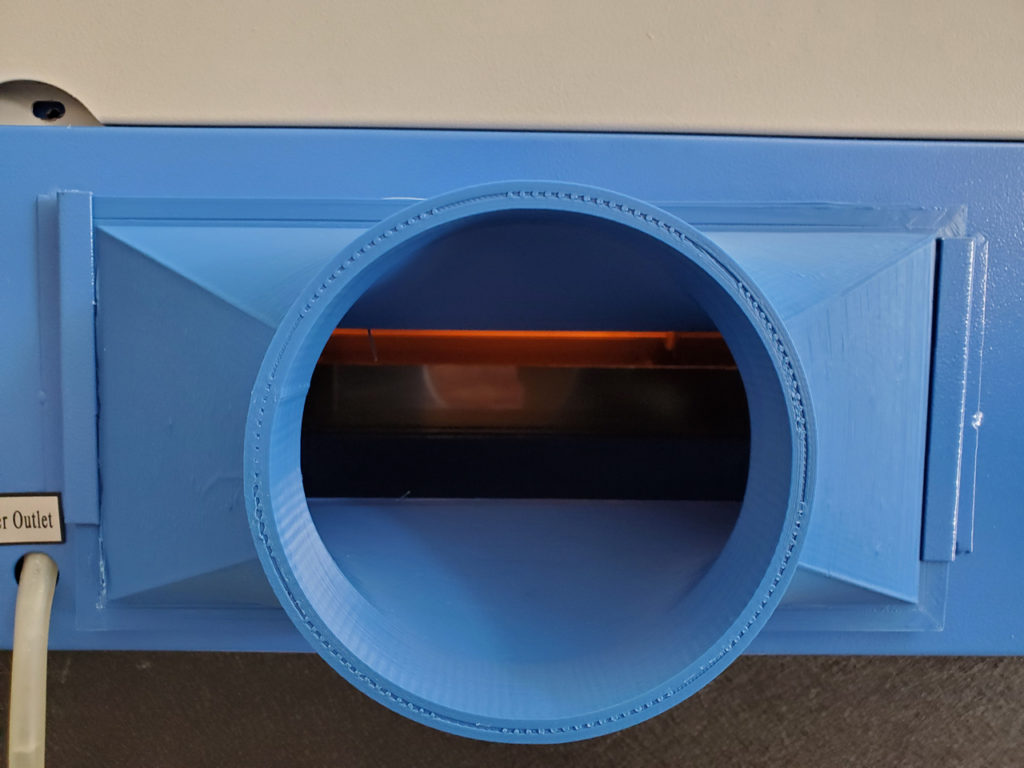
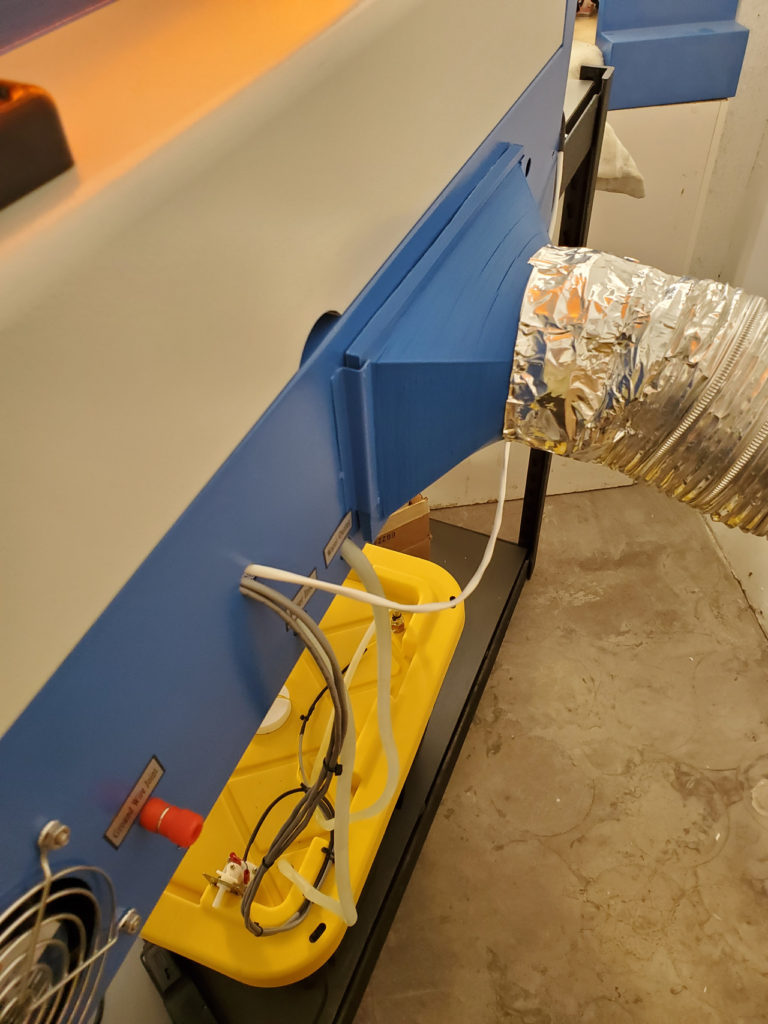
It will serve it’s purpose and since the defects are primarily cosmetic I will use it for what it is needed for and I will not need to reprint it. No need to waste plastic or time.
If I were to do this print again I would likely use PLA or PETG to make it easier to print…unless I was bored and wanted a challenge.